
Cute and fluffy texture! How to do "punch needle" embroidery, a technique that uses a specially designed, extra-thick needle to create designs.
- Date created:
- Update date:
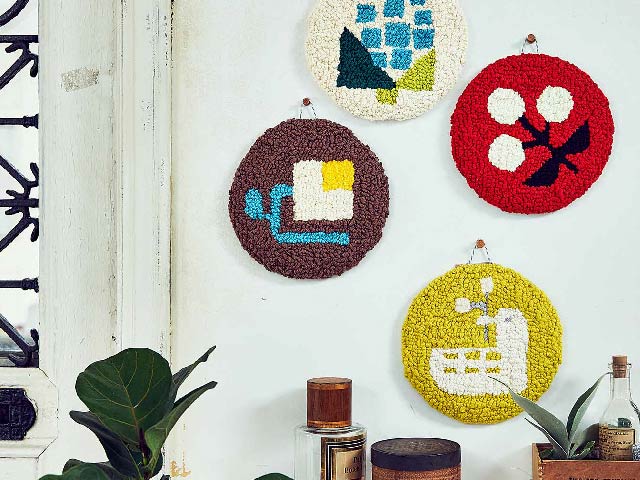
Punch needle crafting is a new kind of craft where you use a special needle to create small holes in fabric. It's a simple technique that only requires a special needle and thread, so you can easily make things with it. Enjoy creating your own rugs, tapestries, cushions, and more!
table of contents
◇Materials and tools required
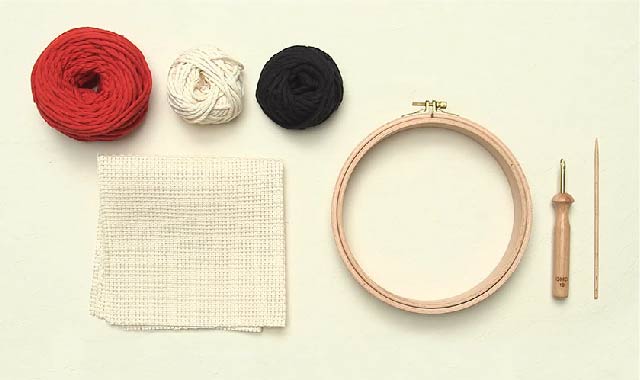
Embroidery hoop
I recommend using an embroidery hoop with good holding power that can stretch the fabric taut. Since the project is on the larger side, I'm using a dedicated hoop with a diameter of approximately 18cm.
・Needle specifically for punch needles
This kit uses a special needle designed for punch needles. It's a perfect tool for extra-thick threads. A needle for threading the needle is included.
·thread
This time, we'll be using extra-thick cotton yarn to create a fluffy rug.
Embroidered fabric
◇Prepare your punch needles
Paying attention to the initial steps will make the subsequent work much easier.
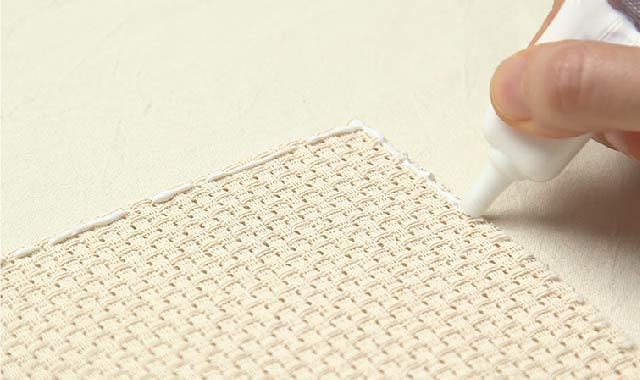
Apply a thin layer of adhesive to the edges of the fabric to prevent fraying.
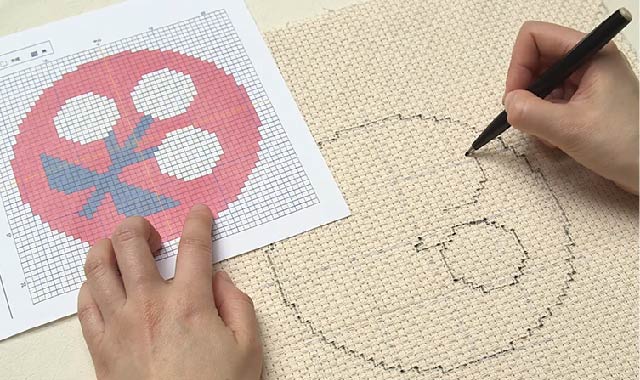
Transfer the design onto the fabric.
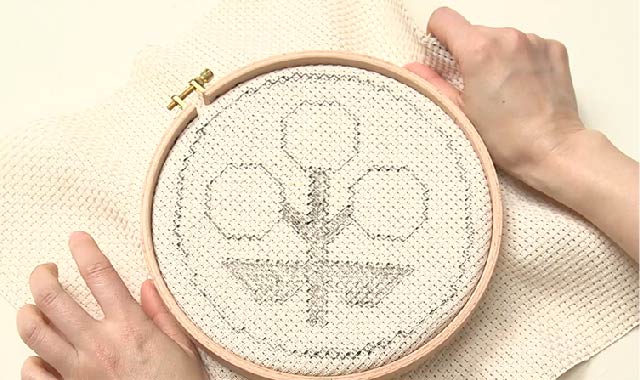
Place the fabric in the special frame.
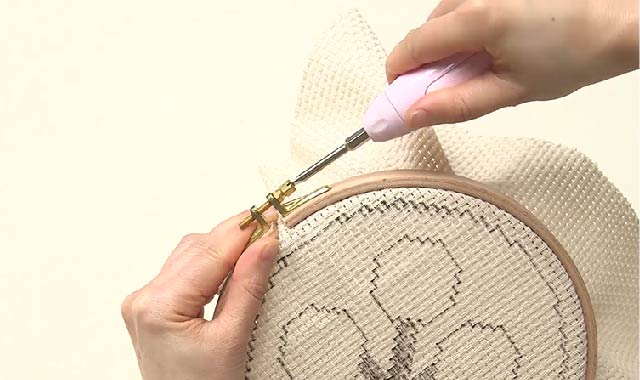
Tighten it securely so that the fabric doesn't loosen.
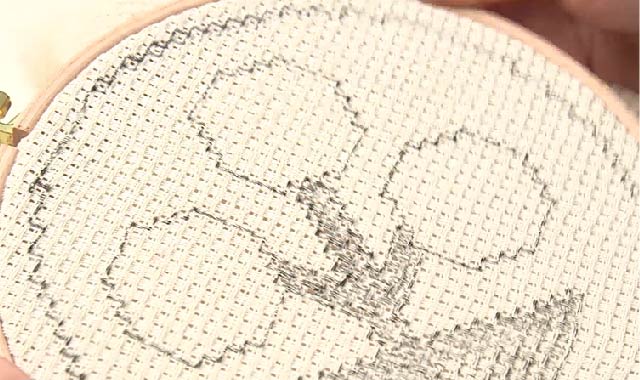
Keeping the fabric taut makes it easier to stitch and results in a neater finish.
◇Thread the needle using the special needle.
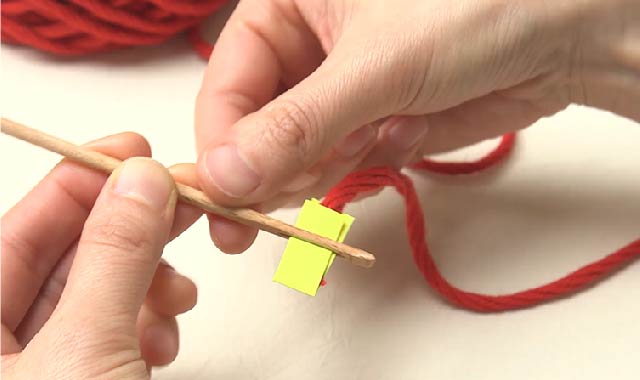
Use a needle designed for threading to thread the thread through the special needle. Using a piece of paper to guide the thread will make it easier.

Insert the threading needle from below the special needle and pull it out from above.
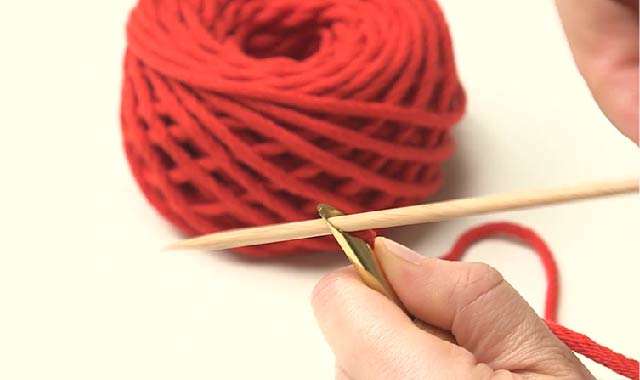
While holding the thread with your finger, thread the needle again through the gap created in the upper needle.
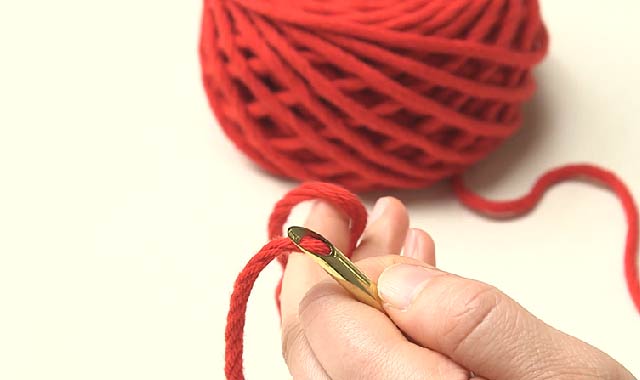
If it looks like this, then it's correct.
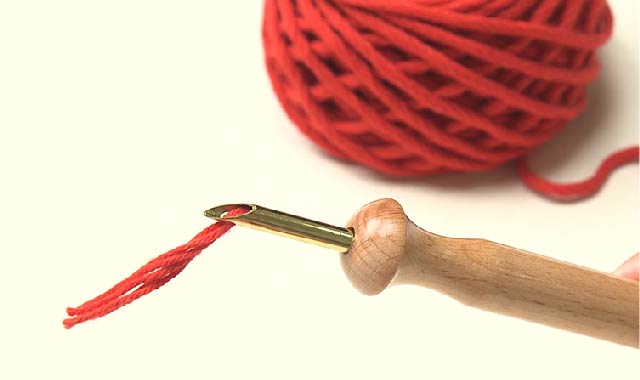
Pull the thread from below to adjust the length and achieve this shape.
◇Beginning and end of stitching
Don't forget to pull the thread out.
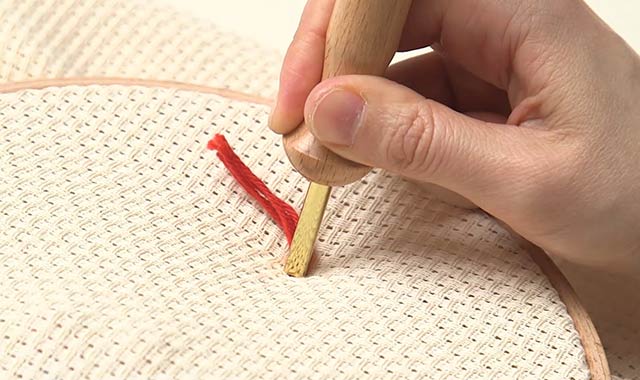
Insert a special needle threaded with thread.
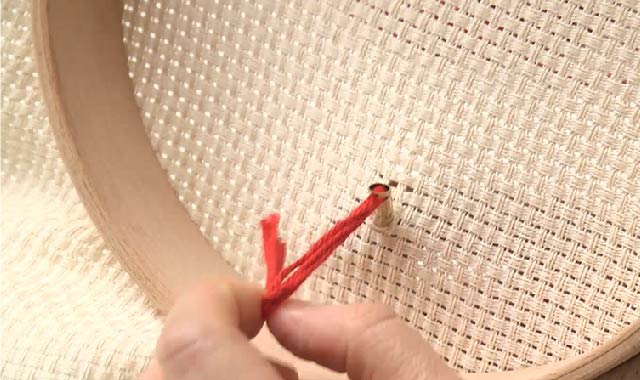
To begin stitching, pull the thread end through to the opposite side. Do the same when finishing.
◇Precautions when piercing
Keeping these points in mind will ensure a smooth workflow and a beautifully finished product.
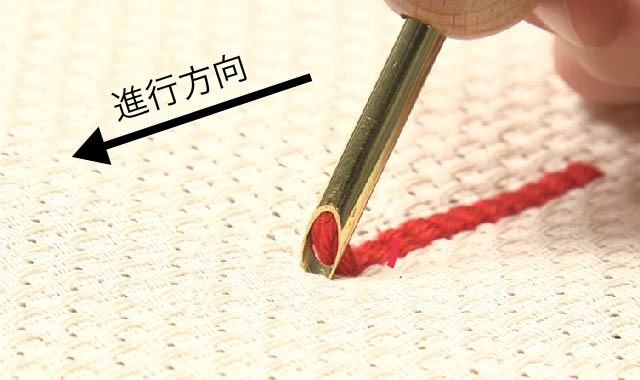
Proceed with the needle's eye pointing in the direction you are piercing.
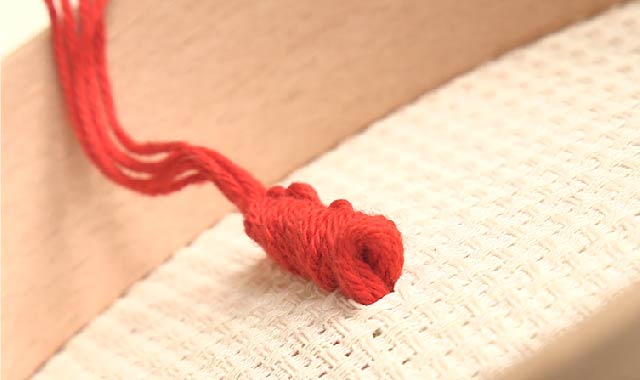
Insert the pieces one by one, and it's OK if a loop is formed on the back.
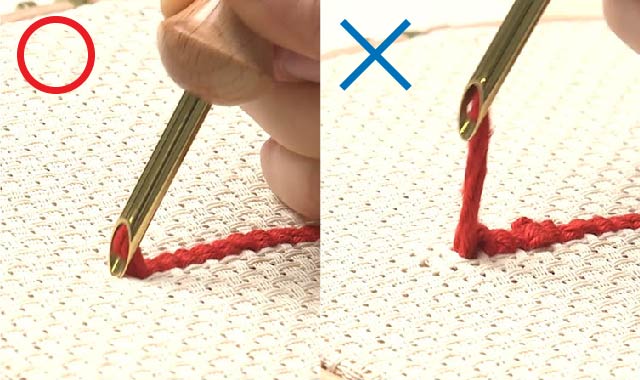
At this point, insert the needle into the adjacent square, making sure the tip of the needle does not leave the fabric.
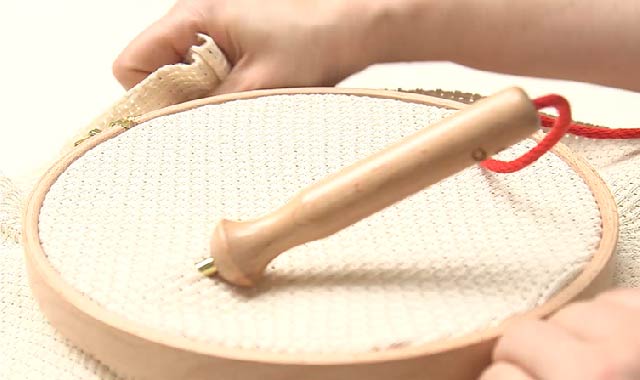
If the fabric becomes loose, tighten it again. It's easier to stitch when the fabric is taut.
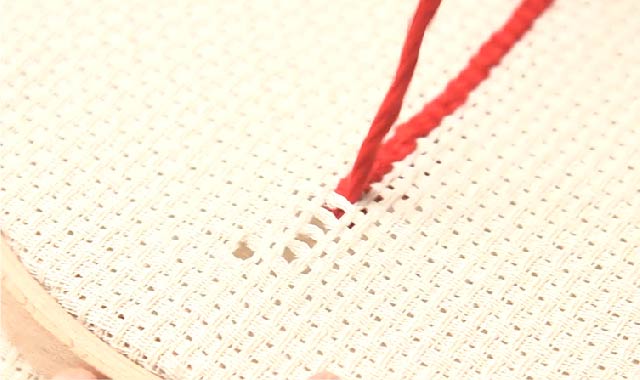
Even if you make a mistake, you can easily try again, so it's perfect for beginners!
◇Let's start stitching the design right away.
Let's start stitching according to the design!
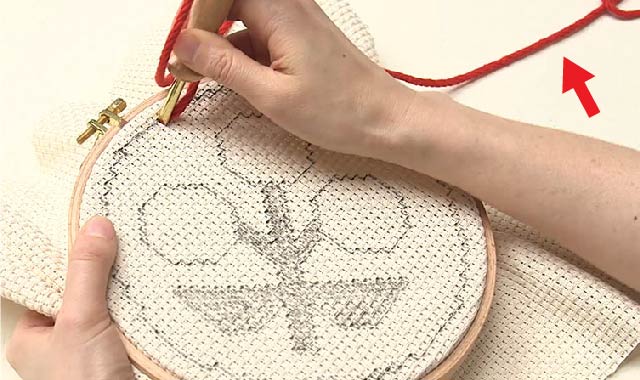
Always leave some slack in the yarn when pulling it out of the ball.
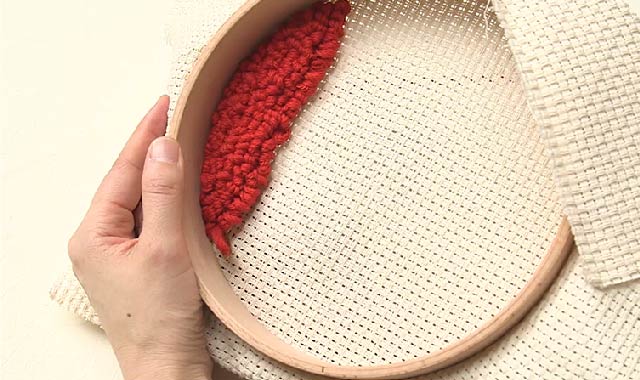
I turn it over occasionally to check if it's working properly as I continue stitching.
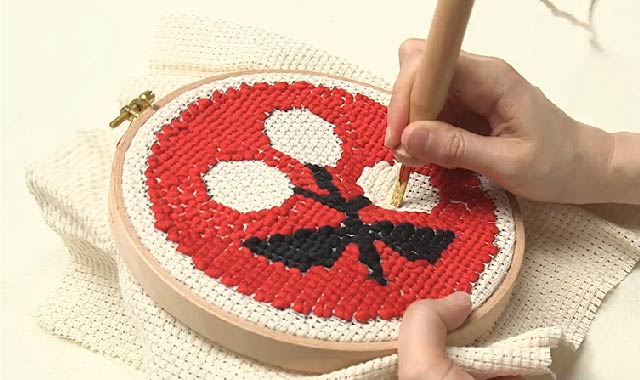
I continue stitching, changing the thread color each time.
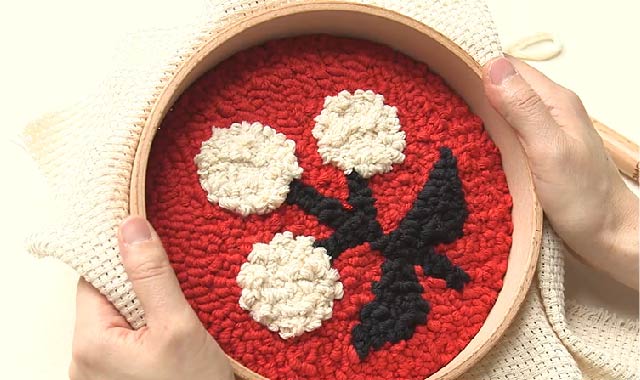
In no time at all, I was able to create this cute, fluffy embroidery!
◇Examples of arrangements using punch needles

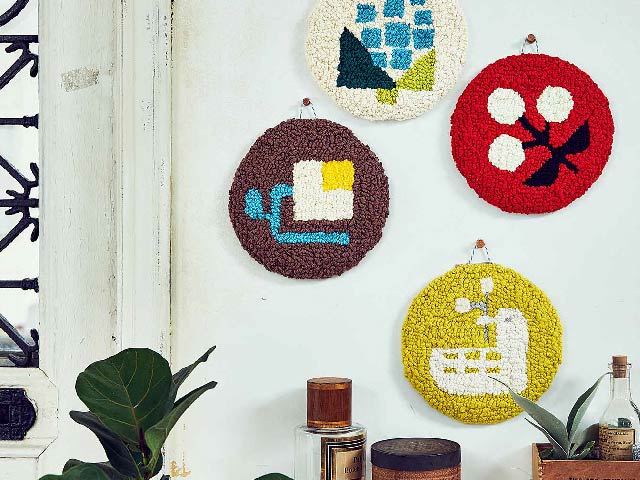
Connect as many as you like to create your own original fluffy rug.
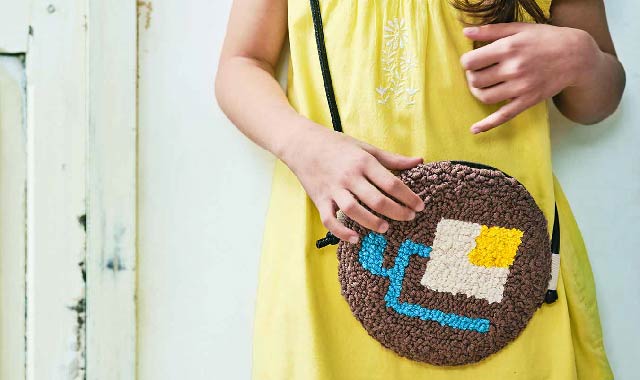
It would also be cute to use it to make small items like a clutch bag!
These bumpy, punchy needles will make you want to touch them!
Punch needles are characterized by their bumpy texture. The fact that you can re-stitch them is a great advantage. The wide variety of patterns makes crafting even more enjoyable.
The Couturier blog features a variety of crafting tips and lots of helpful information. Don't miss the Couturier shop, where you can buy crafting kits, and our official social media accounts!
▽Click here for the Couturier Shop
The products featured in this article are listed here.
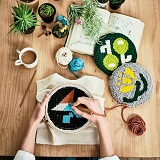
A new sensation! A botanical garden made with punch needles: A fluffy rug workshop.
A kit for a new kind of craft: piercing fabric with a special needle. This kit lets you create a fluffy cotton rug using the simple technique of "punch needle," where you pierce fabric with a thick, specially designed needle. To maximize the appeal of punch needle, the kit features carefully selected thread thickness and fabric count that work well with the special tool. Each kit features a botanical garden theme, with various designs of motifs including nuts, birds, and flowers. Connect the round motifs to your desired size to create your own original Scandinavian-style interior piece, such as a rug or tapestry. Recommended for those who want to try something new and create a picturesque piece!

A reliable wooden hoop that provides a secure hold.
This wooden embroidery hoop offers excellent fabric tension and a secure hold, making stitching easy. A must-have! It's a perfectly matched, dedicated tool.

A new sensation! Fluffy punch needles.
Perfect for the extra-thick yarn used in the kit. DMC's wooden punch needle dedicated needle. Includes a needle for threading the needle. A must-have! This is a perfectly matched dedicated tool.
SHARE


Related article
Nostalgic yet new, my favorite handmade crafts - Part 2
Craft artist
Nostalgic yet New, My Favorite Handmade Items ~Part 1~
Craft artist
Cute and fluffy texture! How to do "punch needle" embroidery, a technique that uses a specially designed, extra-thick needle to create designs.
パンチニードル
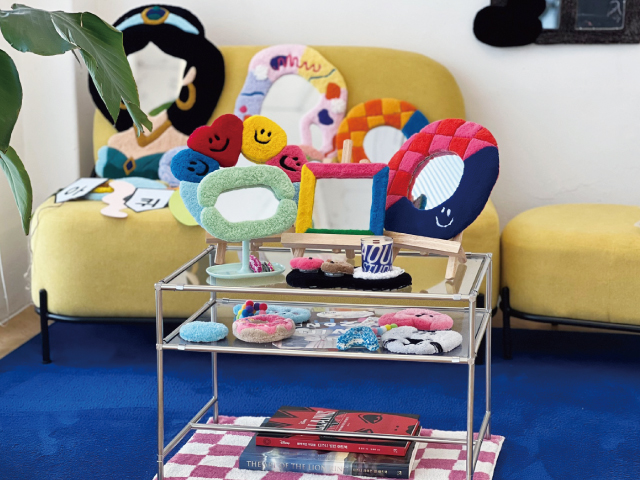
Trying tufting! / Hejin unnie's cheerful report from Korea
パンチニードル
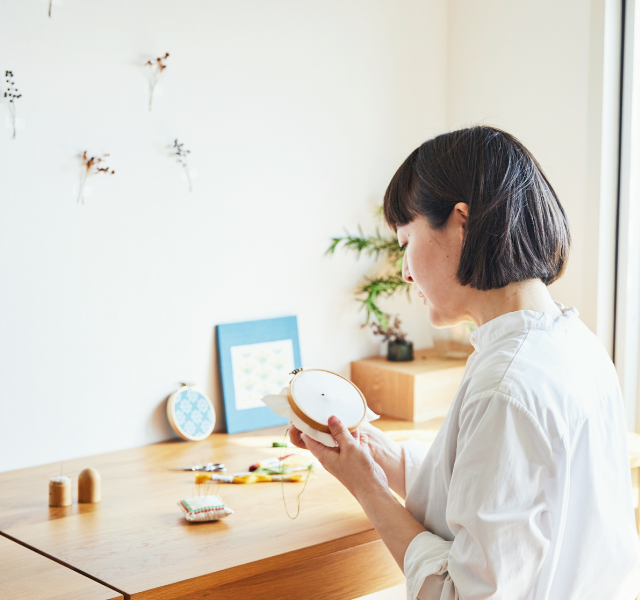
Minori Ikeda's "Connecting with the World Through Embroidery"
Embroidery
Articles I recently read

If you feel like doing some handicrafts (handmade crafts),
To the Couturier Shop

Shopping
Once you get hooked, you'll be completely engrossed!
These kits are long-selling and popular items at Couturier. From knitting and joining pieces to creating and wearing them, and enjoying various arrangements, there's a wide selection of kits that will have you completely hooked.
Shopping
For those new to handmade crafts, click here.
We want many people to experience the joy of making things by hand. That's why we have a wide selection of beginner-friendly lesson kits in our "Basics for Beginners" series.
Shopping
お す す め コ ン テ ン ツ
Shop for craft and DIY kits and handmade goods here.
Shopping
編み物
I want to knit every day, I want to knit all year round.
Shopping
The sun
You're sure to find an embroidery design you want to try!
Shopping
Sashiko
Sashiko embroidery, popular for its traditional patterns and characters.
Shopping
Sewing
A collection of tips and solutions for sewing and sewing problems.
Shopping
Accessories
Handmade accessories
Shopping
Craft
Crafts, handcrafts that don't require needles and thread
Shopping
ミ ニ チ ュ ア
Small, cute, heart-fluttering miniatures
Shopping
Beginner kit
Learn to do it! Popular beginner kit

Shopping
Couturier Shop Site
Shopping
Sales campaign
Shopping
Beginner Knitting Lesson Kit
Shopping