
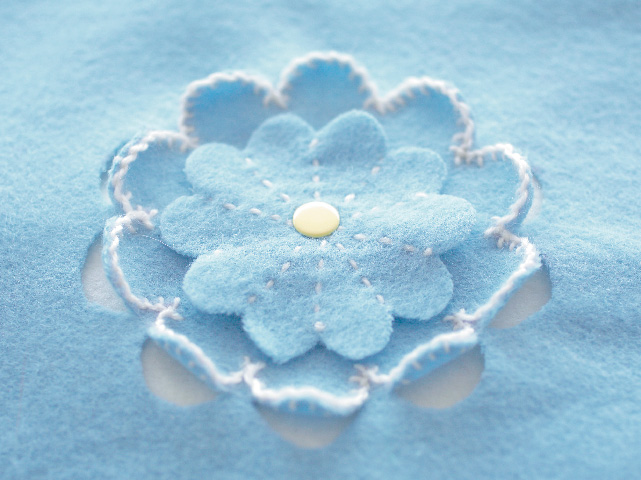
The blanket stitch, familiar from appliqué and other embroidery, is a very useful stitch because of its simple cuteness and durability!
table of contents
What is blanket stitch?
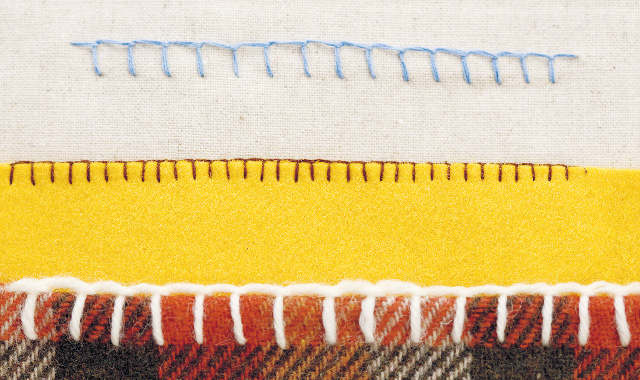
As the name suggests, this stitch is used around the edges of blankets and is one of the basic stitches that you are probably familiar with, used not only for edging but also for appliqué and joining felt pieces. The stitching method is very simple, but we will explain in detail how to start and finish the stitch, as well as how to stitch the corners.
◇ Materials and Tools
·thread
When sewing felt pieces together to make a mascot, if you want the stitches to be less noticeable, use one or two strands of No. 25 embroidery floss in the same color as the fabric. Conversely, if you want the stitches to stand out, choose the thickness (number of strands of embroidery floss) to your liking. It's also fun to experiment with different materials, such as stitching wool with yarn.
Embroidery needle
Use an embroidery needle of the appropriate size for the thread.
◇ Basic blanket stitch technique
*Here, we are inserting the arrows to the left, but you can also insert them to the right.
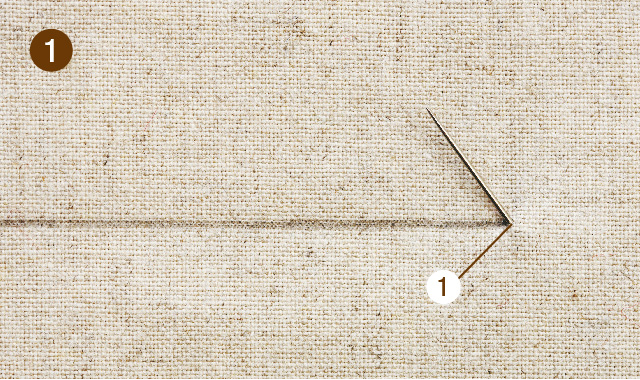
Draw a single line to serve as a guideline for the embroidery, and bring the needle out from point ① on that line.
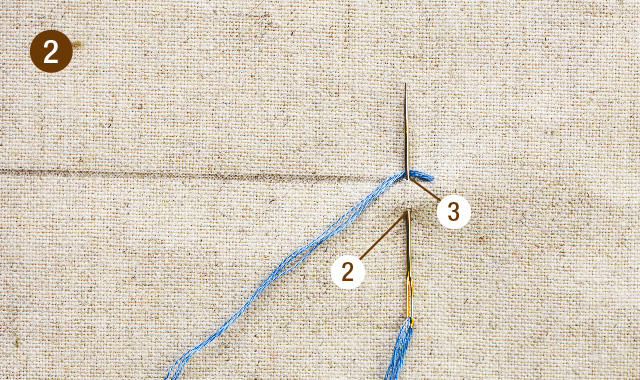
Insert the needle into ②, bring it out at ③ on the line, and loop the thread around the needle.
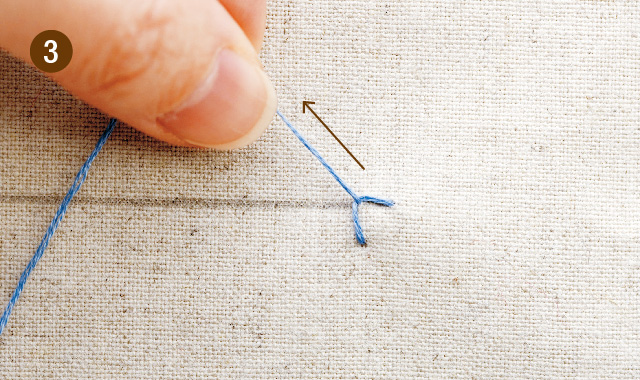
Remove the needle and tighten the thread. Be careful not to pull it too tight.
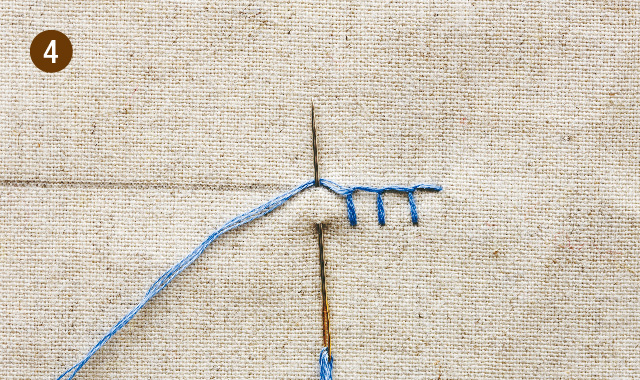
Repeat this.
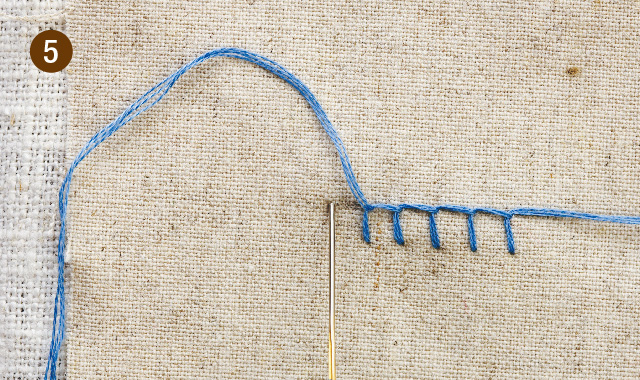
Finally, insert the needle along the line and secure the thread on the back.
◇ Let's make an appliqué using blanket stitch!
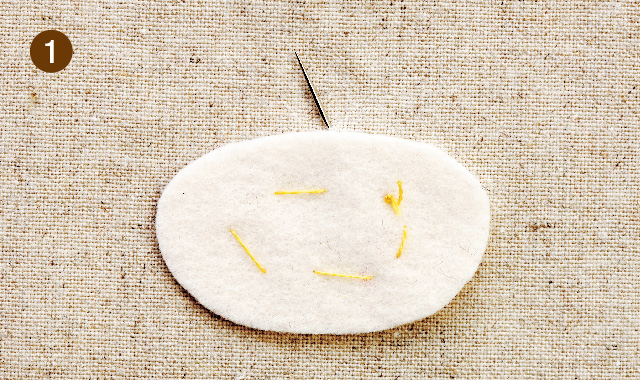
Place the appliqué fabric on top of the main fabric, secure it with pins or basting stitches, and bring the needle out from the edge of the appliqué fabric.
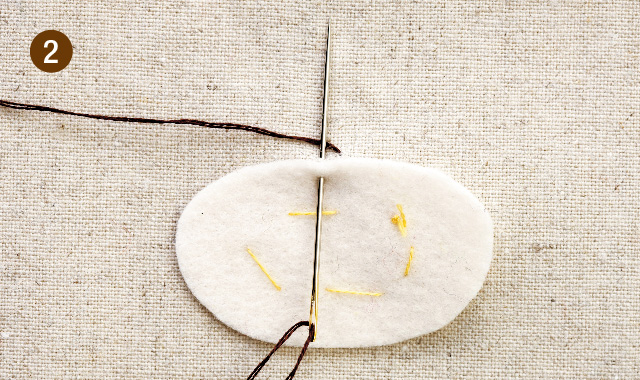
Continue stitching using the same method as the basics.
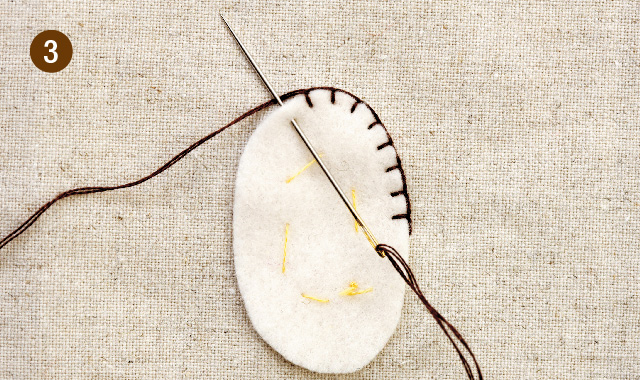
For curved sections, insert the needle perpendicular to the fabric when working with the appliqué to create neat stitches.
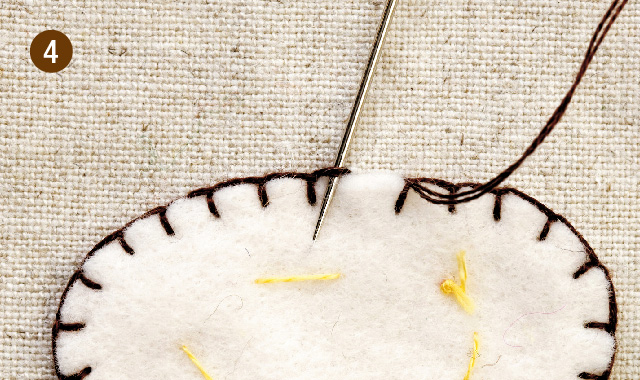
If the stitch is looping, thread the needle through the first stitch.
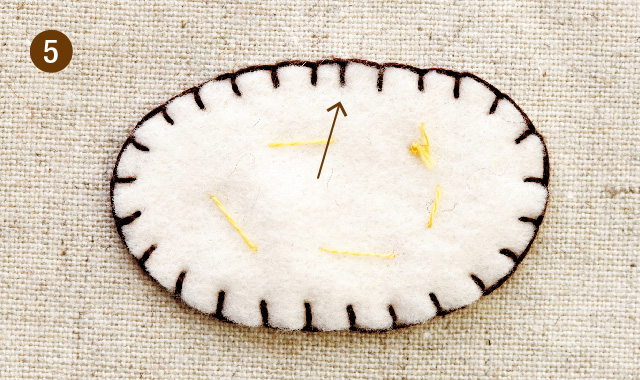
Finally, insert the needle in the position shown in the photo and secure the thread on the back.
◇ How to do edge stitching
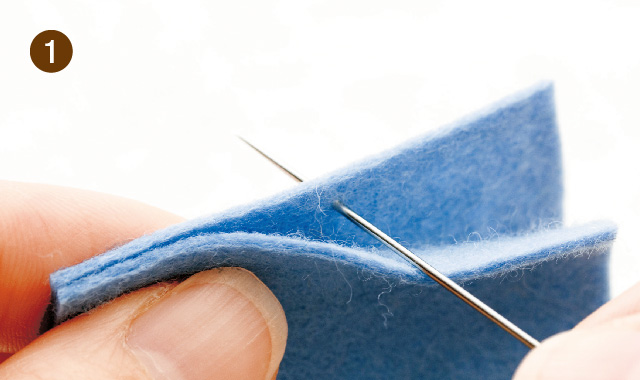
Place the two pieces of fabric right sides together, and insert the needle from the back of the inner fabric.
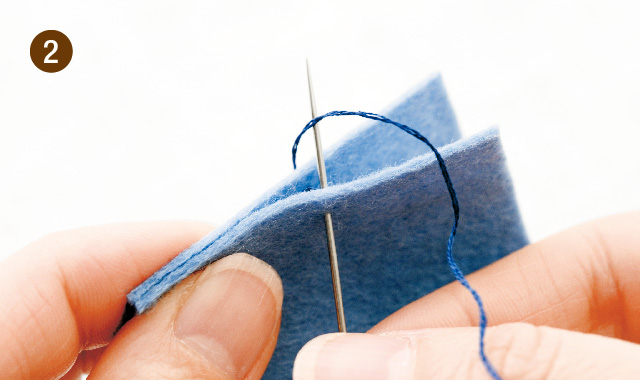
Insert the needle from the right side into the same position on the fabric in front, and bring it out through the gaps in the fabric.
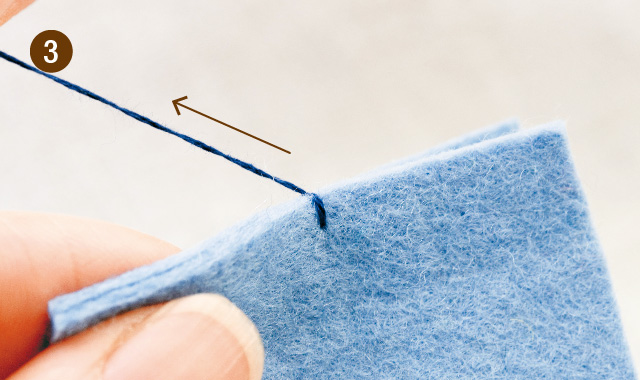
The thread gets caught in the stitch and secures it in place.
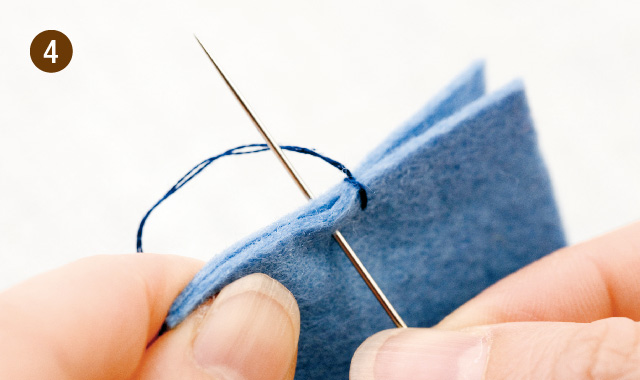
Next, insert the needle into both pieces together and loop the thread around the needle.
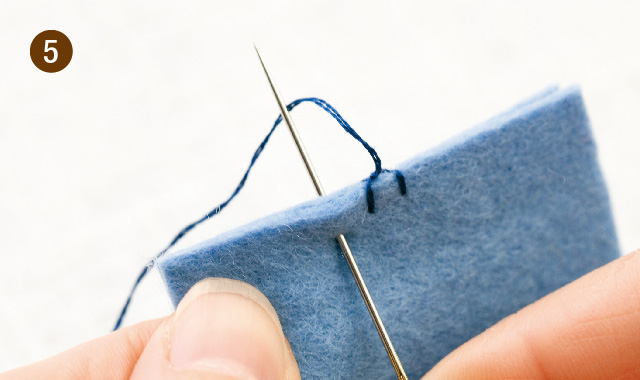
Pull out the needle and repeat the process.
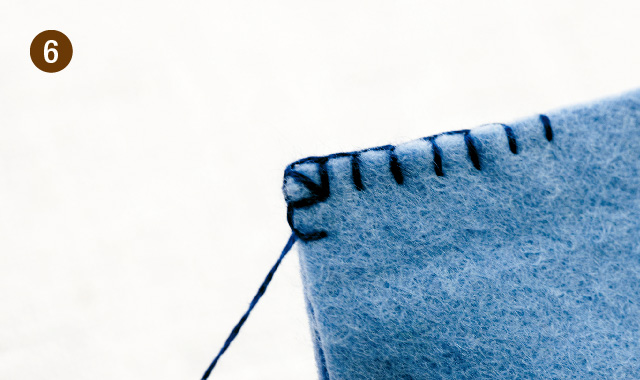
For the corners, a single diagonal stitch will give a neat finish.
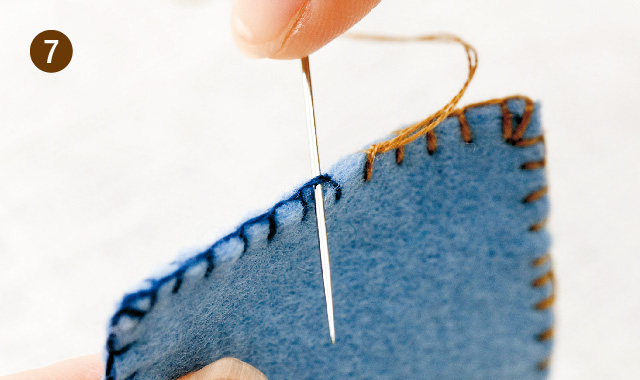
Once you've gone all the way around the edge, loop the thread around the starting point to connect the stitches. (The colors have been changed for clarity.)
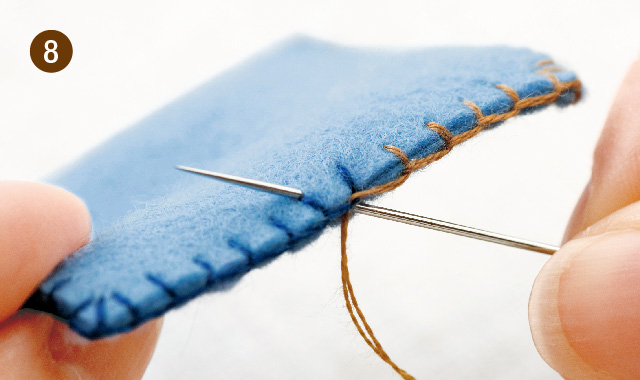
Insert the needle between the layers of fabric and bring it out to the back.
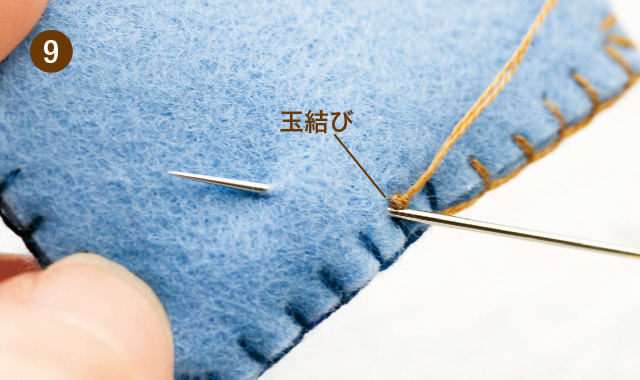
Make a knot, then insert the hook through the same eye and bring it out a little distance away.
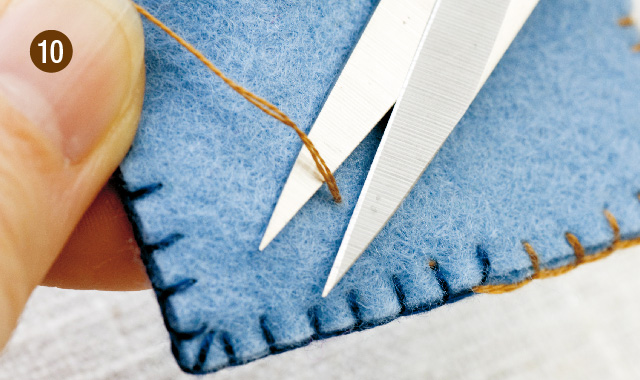
Pull the thread a little tighter and tuck the knot into the fabric for a neat finish. Cut the thread at the edge of the fabric.
This page introduces patterns for projects using the blanket stitch.
Chrysanthemum blanket
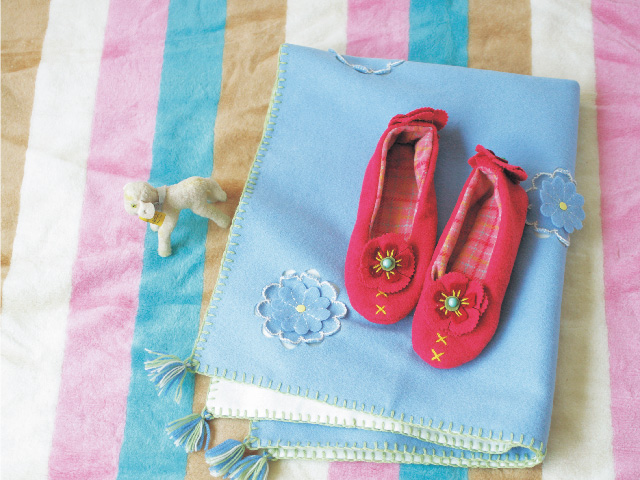
This warm and cozy blanket features chrysanthemum petals crafted with embroidery and cutwork to give them a three-dimensional appearance.


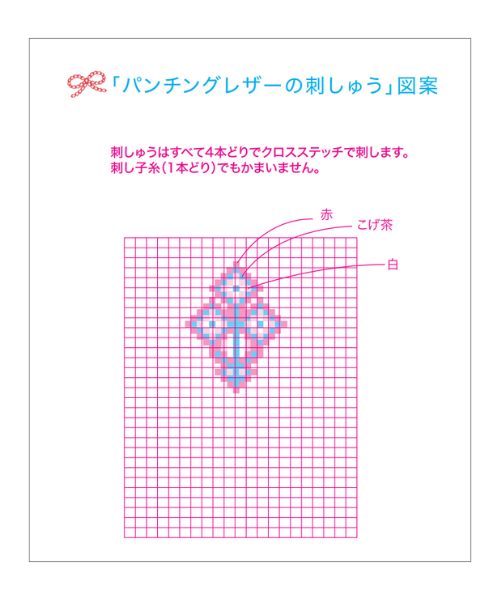
Perforated leather pass case
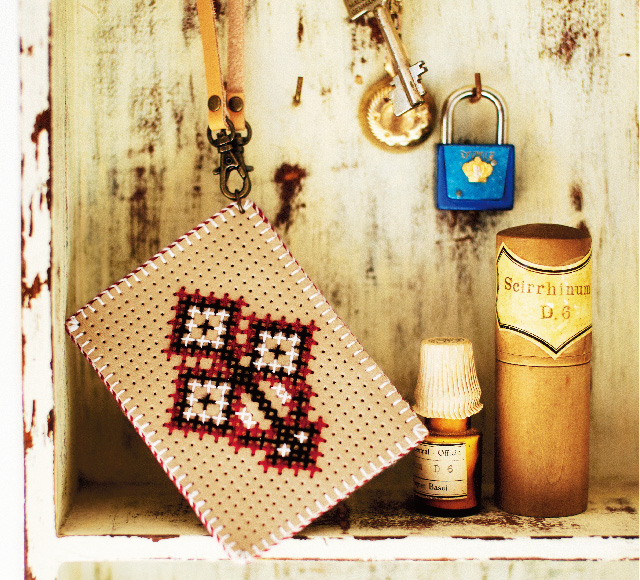
Perforated leather, which has regular holes punched into the leather or synthetic leather, allows you to enjoy embroidery freely, just like with cross-stitch fabric. The pass case featuring a geometric floral pattern that we are introducing here would also look great if you changed the leather color and embroidery thread color to make different color variations or matching sets.

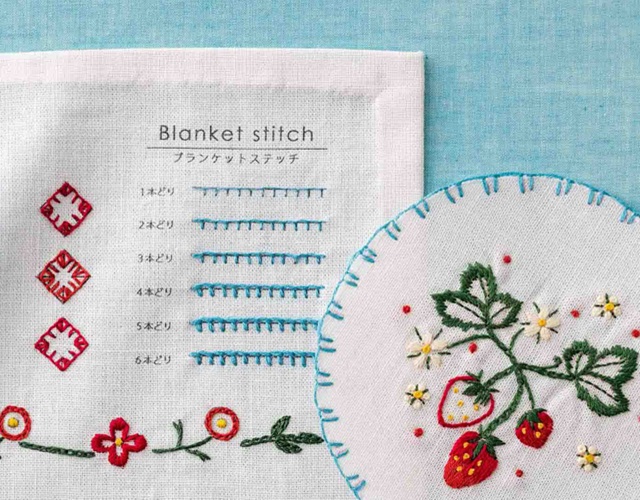
Blanket stitch - versatile
Blanket stitch is not only cute in appearance, but it can also be used for a variety of purposes. Let's master the basics and enjoy crafting even more!
The Couturier blog offers tips and tricks for various crafts, including embroidery, sewing, and knitting. Don't miss the Couturier shop, where you can purchase crafting kits, and our official social media accounts!
Couturier's embroidery kits for beginners are recommended because they allow you to master not only blanket stitch but also other basic embroidery stitches.
▽Click here for a list of embroidery articles
▽Click here for a list of embroidery kits.
▽Click here for the Couturier Shop
The products featured in this article are listed here.

"Couturier Club" registration fee (annual registration)
Join the "Couturier Club" and enjoy tons of great member benefits for just 100 yen a month! Enjoy introductory prices on your first purchase, and our monthly newsletter, "Couturier's Seeds," is packed with fun and useful information, including seasonal crafting ideas, original works by artists, and crafting techniques. We look forward to you joining the "Couturier Club" and enjoying crafting together!

"The Basics for Beginners": A First Aid Kit for Everyday Sewing - Needlework Lessons
Solve your "problems" yourself! A needlework lesson that's like a first-aid kit for everyday use. "The hem of my skirt is coming undone, how do I sew it?" "The handle of my eco-bag is falling apart, can I do something about it?" "A button is about to fall off, what should I do?" This lesson is designed to solve those everyday needlework problems! You'll learn the correct way to do basic sewing and button attachment, as well as ideas for easy and time-saving tasks. We'll also provide you with essential sewing tools and handy items that you can use right away.

Master 22 types of stitches: Embroidery "Basic Basics for Beginners" Lesson
"I haven't done embroidery since home economics class as a child..." This lesson kit is perfect for people like you. The key to embroidery is repetition. You'll practice the same stitch repeatedly, from using one strand to six strands, so your fingertips will naturally memorize the needle movements. Master 22 different stitches in six sessions. In addition to the lesson cloth, you can create small items as an application project in each session. (※While there are six lessons, you can stop at any time.)
SHARE


Related article
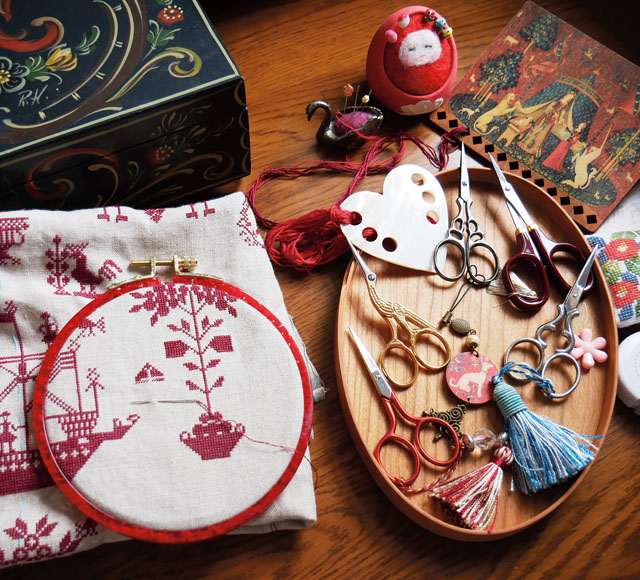
Cross-stitch is the gateway to a rabbit hole.
Cross stitch

DIY / Question 04: Tips for Cross Stitching
Cross stitch
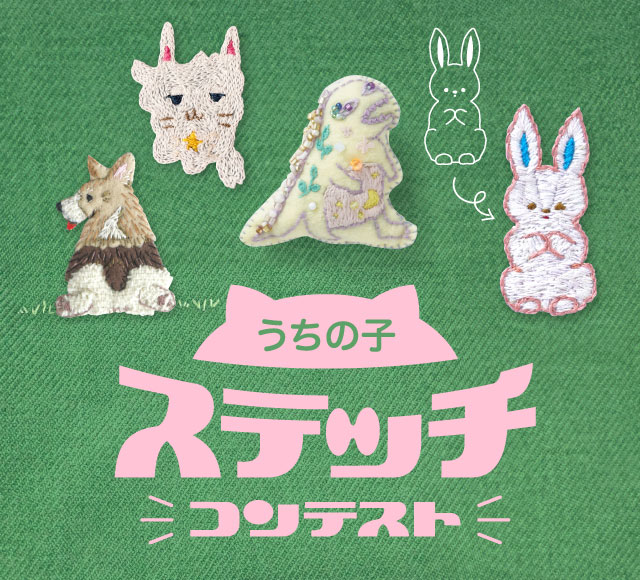
"My Child Stitch Contest" - Submissions Wanted! [Embroidery Festa 2025]
Mystery SAL
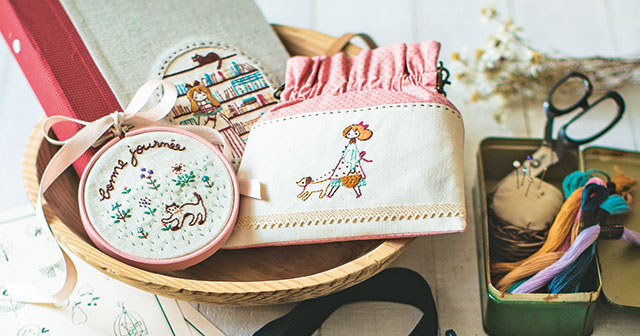
The thoughts that embroidery artist Hiroko Ishii puts into her embroidery kits
French embroidery
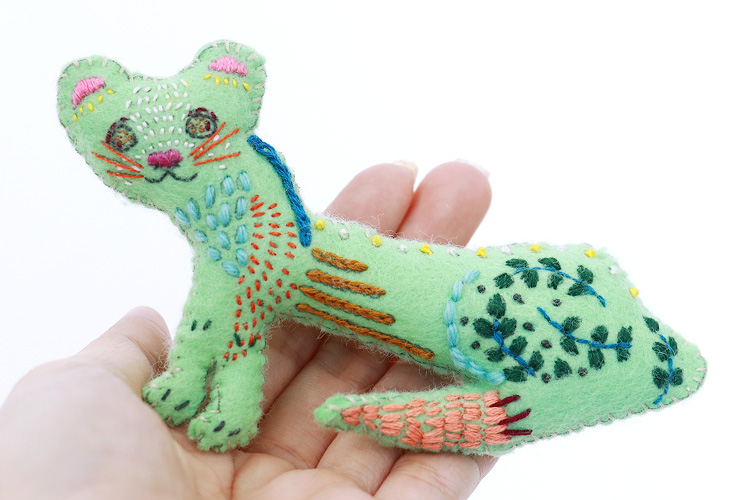
Handmade cute animal-themed brooches that you'll want to take with you wherever you go.
Embroidery
 NEW
Embroidery that grows with every setback / Beloved handmade items
クチュリエの種
Articles I recently read

If you feel like doing some handicrafts (handmade crafts),
To the Couturier Shop

Shopping
Once you get hooked, you'll be completely engrossed!
These kits are long-selling and popular items at Couturier. From knitting and joining pieces to creating and wearing them, and enjoying various arrangements, there's a wide selection of kits that will have you completely hooked.
Shopping
For those new to handmade crafts, click here.
We want many people to experience the joy of making things by hand. That's why we have a wide selection of beginner-friendly lesson kits in our "Basics for Beginners" series.
Shopping
お す す め コ ン テ ン ツ
Shop for craft and DIY kits and handmade goods here.
Shopping
編み物
I want to knit every day, I want to knit all year round.
Shopping
The sun
You're sure to find an embroidery design you want to try!
Shopping
Sashiko
Sashiko embroidery, popular for its traditional patterns and characters.
Shopping
Sewing
A collection of tips and solutions for sewing and sewing problems.
Shopping
Accessories
Handmade accessories
Shopping
Craft
Crafts, handcrafts that don't require needles and thread
Shopping
ミ ニ チ ュ ア
Small, cute, heart-fluttering miniatures
Shopping
Beginner kit
Learn to do it! Popular beginner kit
Shopping
Couturier Shop Site
Shopping
Sales campaign
Shopping
Beginner Knitting Lesson Kit
Shopping