
Break the mold! How to make UV resin accessories using illustrated paper
- Date created:
- Update date:
◆Let's transform paper into accessory parts!
*The photo is an example of the artwork.
This time, we'll show you how to make these as parts for accessories and other crafts. Please prepare your favorite illustration paper.

By coating illustrated paper with UV resin and curing it, you can create a plump, three-dimensional effect. The key to a beautiful finish is to carefully cure each step of the process.
◆Materials and tools to prepare
・Illustration paper
UV resin liquid
・ Scissors
Craft adhesive
・Toothpick
·pen
・クリアファイル
• UV light for curing
◆Let's try making it with mushroom illustration paper!
① Cut out the mushroom illustration paper.

Carefully cut out one sheet each of paper for the front and back using scissors. Cut along the edges of the illustration so that no excess material remains around the edges.
② Attach the illustration paper together

Apply adhesive to the back of the illustration paper cut in step ①. Use a toothpick to spread a thin, even layer of adhesive, then firmly press the pieces together and let it dry.
③ Coat with UV resin liquid.

In step ②, apply a small amount of UV resin to the entire edge of the mushroom you glued together and let it harden. You can work more smoothly by putting the UV resin on a clear file and using a toothpick to adjust the amount. Coating the edges first will increase the strength of the part.
④ The mushrooms are ready!

Spread UV resin liquid onto the top and bottom surfaces of the mushroom and cure it, repeating this process two to three times.
Let's give it a plump, three-dimensional finish.
◆Create a three-dimensional effect using illustration paper from old books!
① Cut out illustrations from old books.

Similar to the mushroom, cut out one sheet each of the front and back paper and glue them together. Then, fold the book in half so that the front side is on the inside and make a crease.
② Use a pen to create a rounded shape.

Round off one side of the page at a time. Press firmly with your finger against the pen.
③ Coat with UV resin liquid.

Carefully spread a thin layer of UV resin over the entire antique book, making sure not to flatten the curves, and then let it harden. You can enjoy the three-dimensional effect that makes it look like the pages are about to turn.
★We can also use original illustrations★
Prepare illustrations for both the front and back sides. Please note that depending on the type of paper, coating it with UV resin may cause the colors to fade.

Attach a jump ring and a chain to complete your original accessory!
Couturier offers many other fun DIY kits! Be sure to check them out.
▽Click here for a list of UV resin kits.
▽Click here for the Couturier Shop

The products featured in this article are listed here.

[¥100 per month] Join the "Couturier Club"!
Join the "Couturier Club" and enjoy tons of great member benefits for just 100 yen a month! You can shop at a special introductory price, and our monthly newsletter, "Couturier's Seeds," is packed with fun and useful information, including seasonal crafting ideas, original works by artists, and crafting techniques.
SHARE


Related article
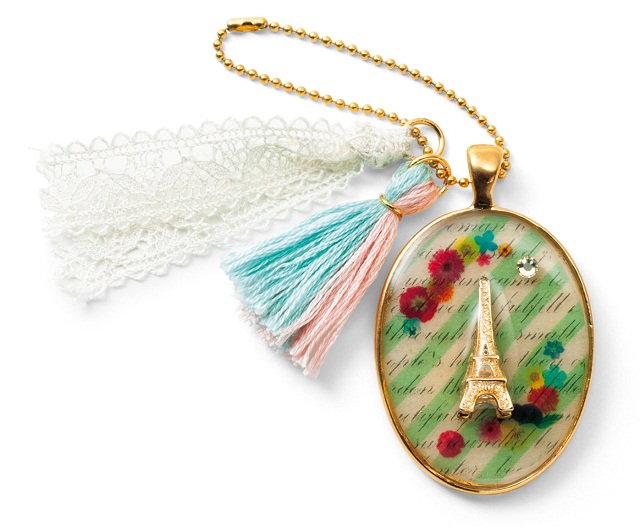
UV Resin - Basic Techniques
Resin
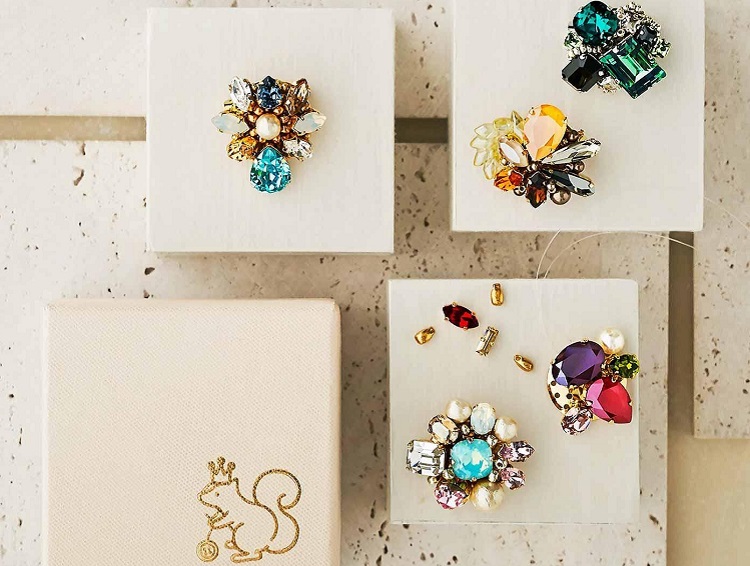
Why not try making a beautiful brooch with your own hands? Stylish ideas using accessory kits.
Bead crafting
Staying up late in the summer ★ A great way to spend your free time: "A recommendation for handmade crafts"
Resin
Easy crafting workshop for beginners during summer vacation!
Resin
An old man's body, but a maiden's heart! Couturier editor T tries her hand at UV resin.
Resin
Manipulate wire freely♪ A collection of cute DIY wire accessory kits
Craft
Articles I recently read

If you feel like doing some handicrafts (handmade crafts),
To the Couturier Shop

Shopping
Once you get hooked, you'll be completely engrossed!
These kits are long-selling and popular items at Couturier. From knitting and joining pieces to creating and wearing them, and enjoying various arrangements, there's a wide selection of kits that will have you completely hooked.
Shopping
For those new to handmade crafts, click here.
We want many people to experience the joy of making things by hand. That's why we have a wide selection of beginner-friendly lesson kits in our "Basics for Beginners" series.
Shopping
お す す め コ ン テ ン ツ
Shop for craft and DIY kits and handmade goods here.
Shopping
編み物
I want to knit every day, I want to knit all year round.
Shopping
The sun
You're sure to find an embroidery design you want to try!
Shopping
Sashiko
Sashiko embroidery, popular for its traditional patterns and characters.
Shopping
Sewing
A collection of tips and solutions for sewing and sewing problems.
Shopping
Accessories
Handmade accessories
Shopping
Craft
Crafts, handcrafts that don't require needles and thread
Shopping
ミ ニ チ ュ ア
Small, cute, heart-fluttering miniatures
Shopping
Beginner kit
Learn to do it! Popular beginner kit

Shopping
Couturier Shop Site
Shopping
Sales campaign
Shopping
Beginner Knitting Lesson Kit
Shopping