
How to Make Felt Sweets Motifs ~Including Tips for Marking and Cutting Felt~
- Date created:
- Update date:
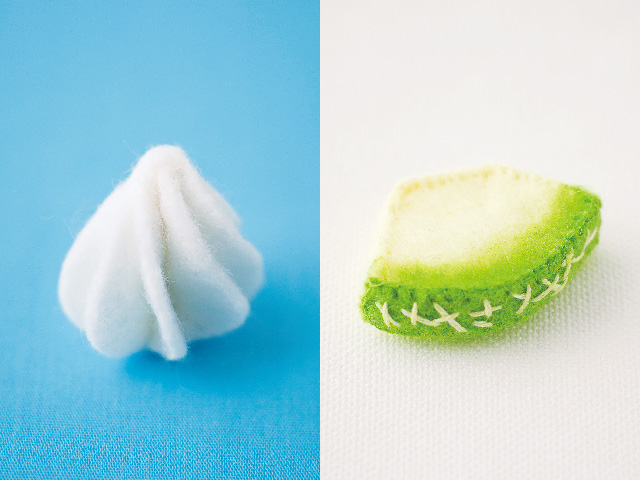
table of contents
What is felt?
Felt is a general term for sheet-like products made by collecting and compressing materials such as wool and polyester. It is produced by adding water or an alkaline solution, applying pressure, and then kneading or rolling the material. Because it doesn't fray like cloth, it's a convenient material for DIY projects.
How to make sweets motifs using felt
◇Materials needed
・フェルト
Embroidery thread
・Quilting batting
◇ How to make whipped cream
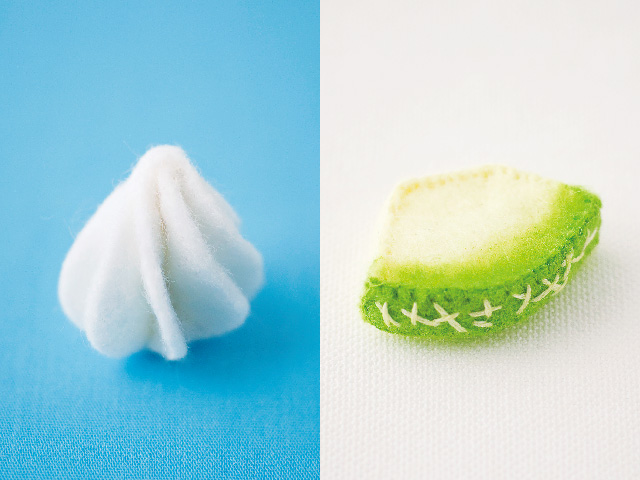
By layering felt and doing a little bit of work, you can create something that looks just like whipped cream!
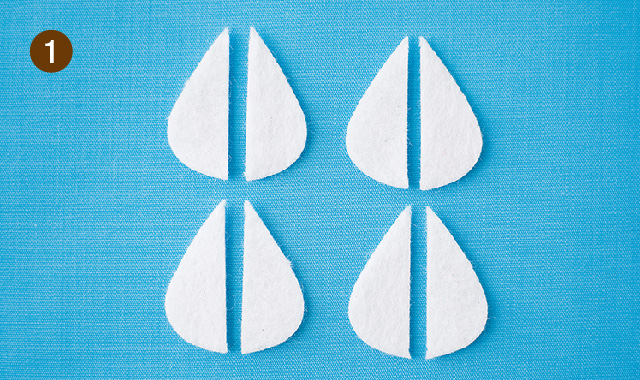
Prepare eight pieces of white felt in the shape of half a teardrop. (A full-size pattern is included at the end of the page.)
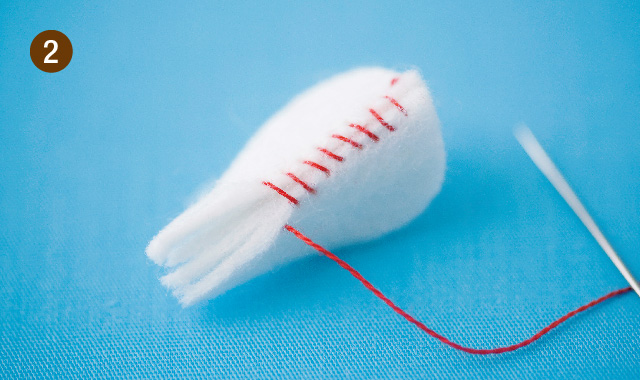
Layer four pieces of white felt and sew a whip stitch from the bottom. (I'm using a brightly colored thread for clarity.)
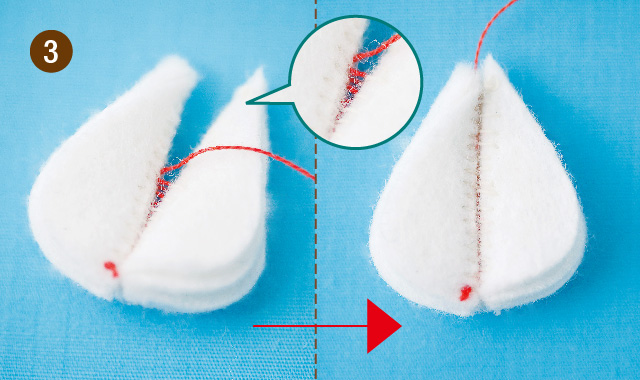
Make another piece of ②, put the two together, and sew them together by picking up the threads that were whipstitched in ② from the bottom up.
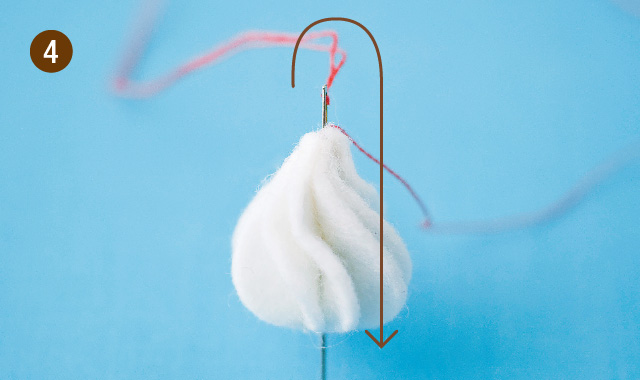
③ Pull the thread you picked up a little to tighten it, and while twisting the entire felt, pass the needle from top to bottom.
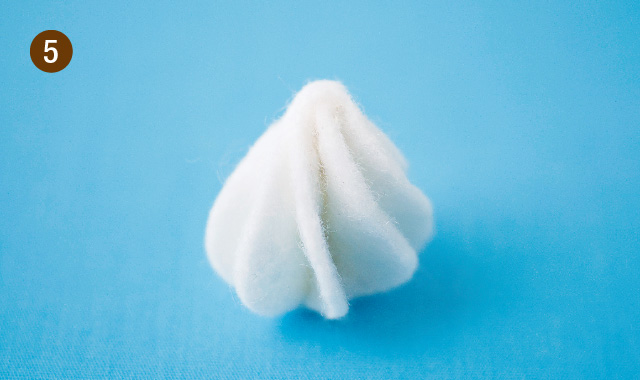
Secure the shape as is, tie a knot, cut the thread, and you're done.
◇ How to grow melons
The melon rind is uniquely represented with random stitches!
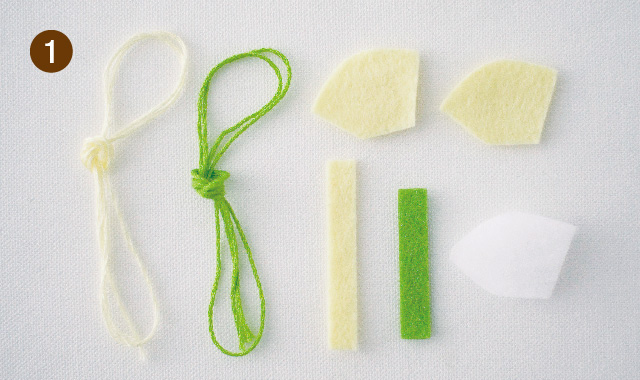
Prepare felt cut into the shape of a melon or rind, embroidery thread, and batting. (A full-size pattern is at the end of the page.)
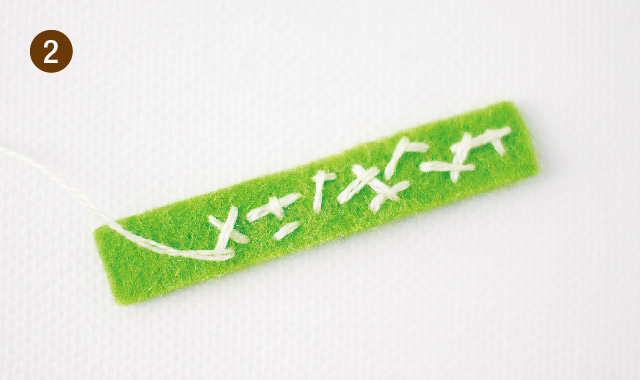
Embroider randomly onto felt/melon rind (yellow-green) using straight stitches (light yellow, 2 strands).
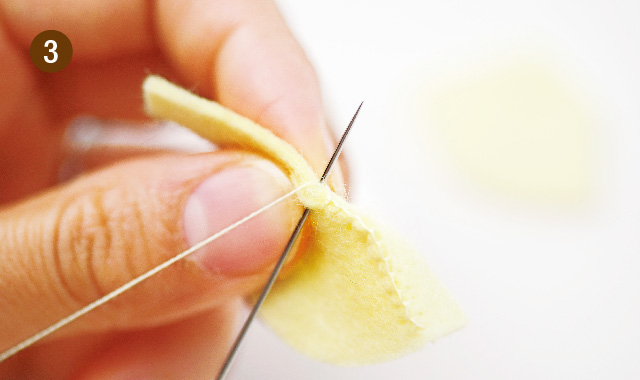
Sew two pieces of felt/melon flesh (light yellow) and the felt/melon side together using a blanket stitch (light yellow, single strand).
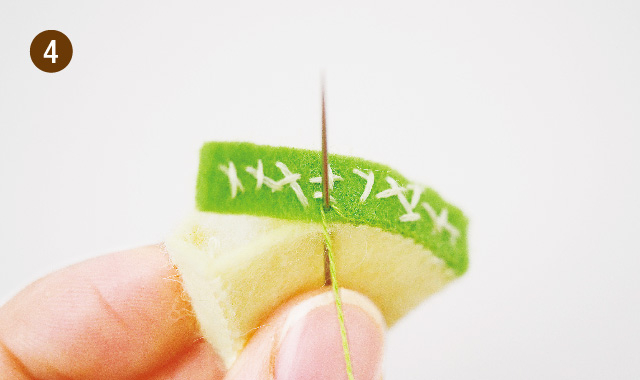
Insert batting into ③, and sew ② together using a blanket stitch (light green, single strand).
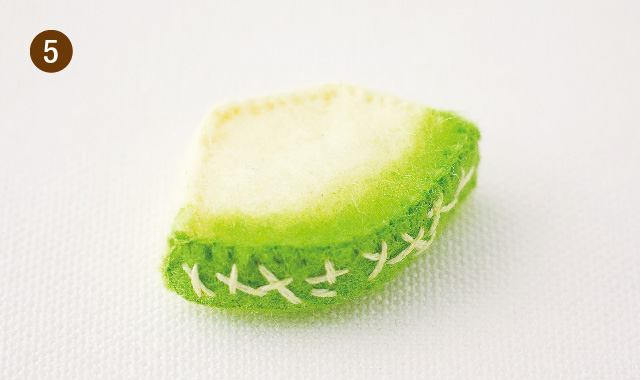
As shown in the picture, color it with a colored pencil (yellow-green). For a more realistic finish, color the flesh lightly and the areas closer to the peel more darkly.
Here are life-size patterns for whipped cream and melon!
[wpdm_package id = '12179 ′]
How to mark felt
Thick felt with a fuzzy surface is a difficult material to mark. Using soft leads like chalk will result in blurry marks, making it hard to see where to cut. Conversely, using hard leads like those of a mechanical pencil will cause the felt's surface to fray. Therefore, here are three recommended methods for marking felt. Making clean, clear marks is the first step to creating beautiful work.
◇Using tracing paper
This method produces a clear image, so it's highly recommended. (However, it's not suitable for dark-colored felt.)
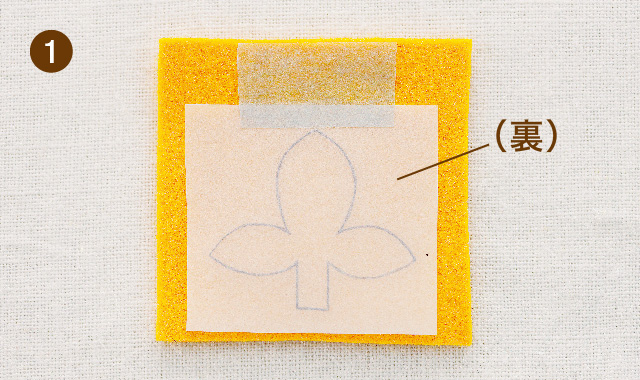
Place the tracing paper, onto which you have traced the design in dark pencil strokes, face down onto the felt and temporarily secure it with tape.
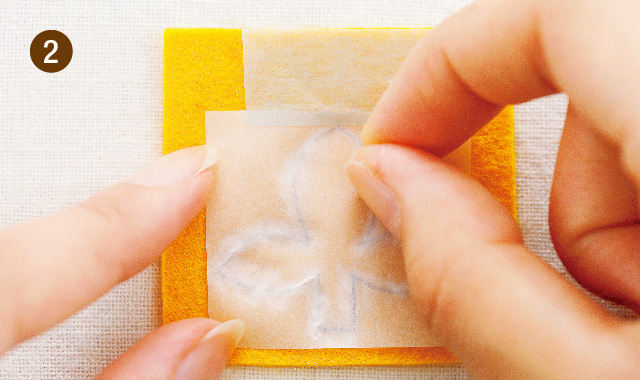
To prevent the tracing paper from tearing, rub the design area with your fingernail.
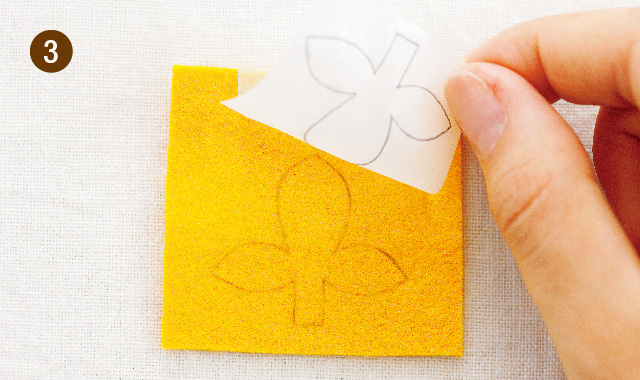
With the tape still attached, check if the image is transferred. If it is, remove the tape and the transfer is complete.
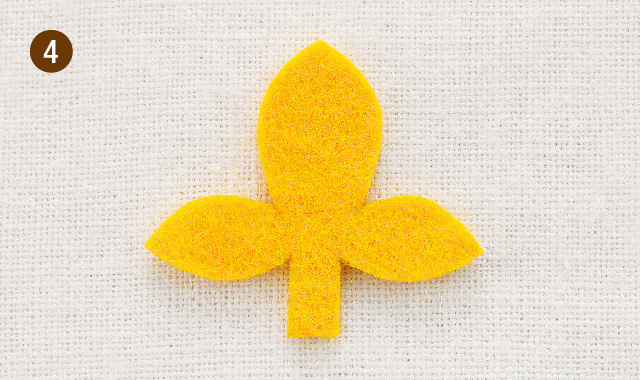
Cut along the line, and use this side as the back.
◇Using a ballpoint pen
If you're writing directly on felt, a ballpoint pen is recommended. It won't fray the surface and allows you to draw smooth lines.
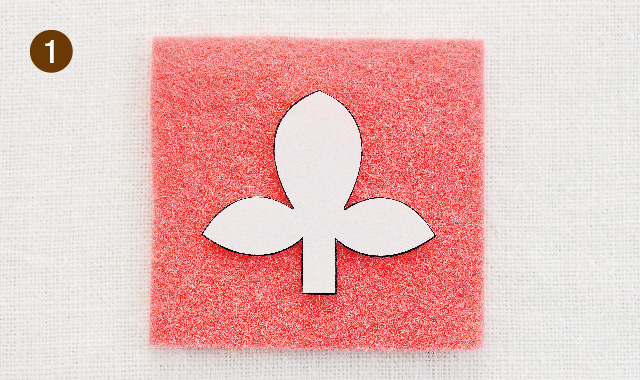
Cut out the pattern and place it on the felt.
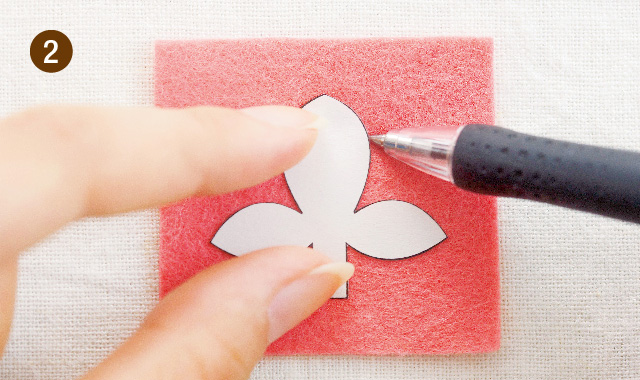
Hold it in place so it doesn't move, and mark it with a ballpoint pen.
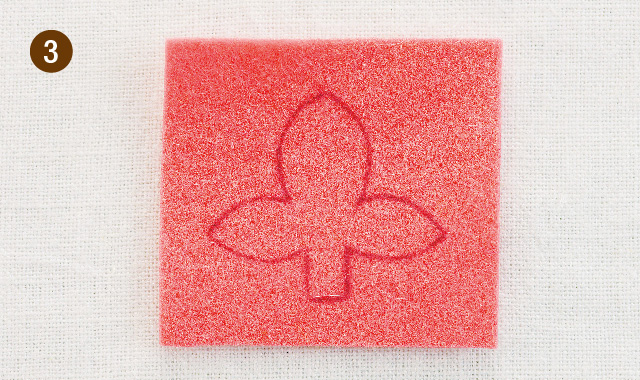
I was able to draw clear lines.
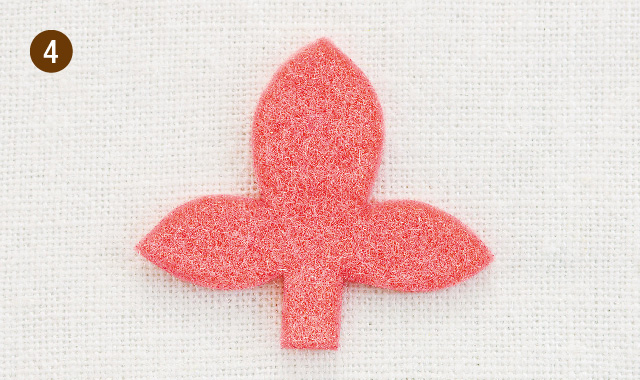
Since you've marked slightly outside the pattern, cut slightly inside the line.
◇ Using piecing paper
Piecing paper is a thin paper that allows you to transfer designs onto fabric and temporarily attach them with an iron. It's a convenient method that can even be used on dark-colored felt. The marks don't leave any residue on the felt, resulting in a clean finish.
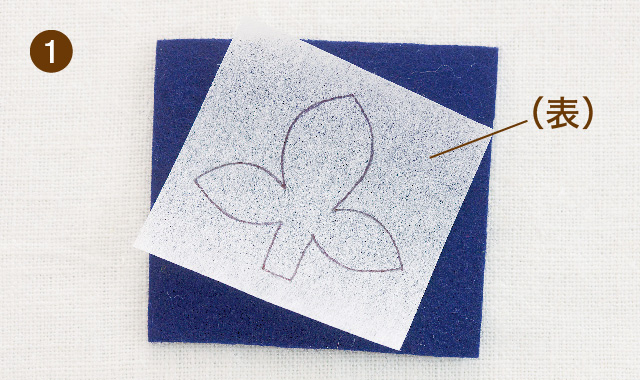
Place the piecing paper with the design traced onto it onto the felt. (Make sure the adhesive side is facing the felt.)
Iron it to bond the pieces together. (Use a temperature suitable for felt.)
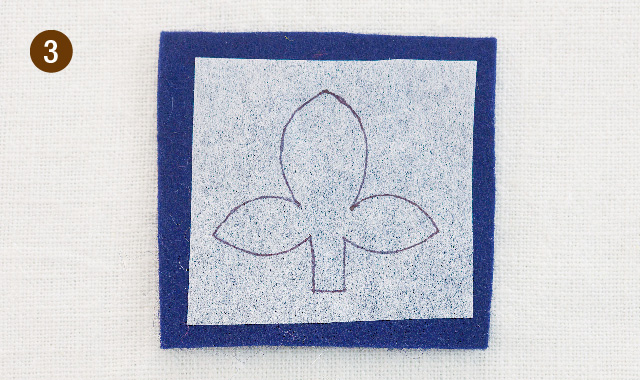
The piecing paper has been glued in place.
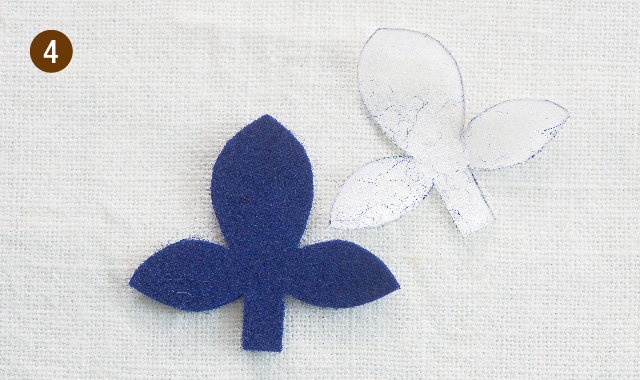
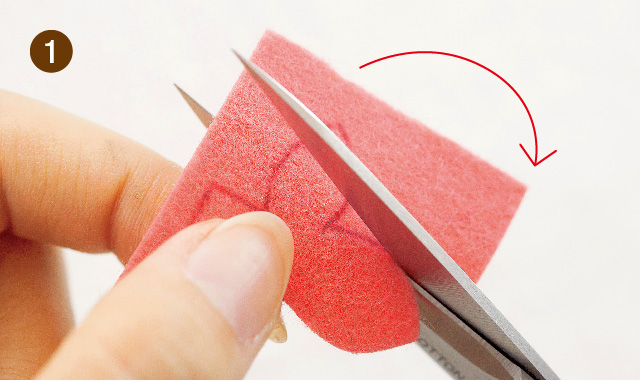
Cut it as is, then peel off the piecing paper.
How to cut felt
Felt, being thicker than regular fabric, has more noticeable cut edges. The key to a beautiful finish is to create clean cuts. Clean cuts will significantly improve the overall look of your project.
Use sharp, maneuverable scissors, and cut by moving the felt rather than moving the scissors.
Always be mindful of cutting so that the cross-section is at a right angle.
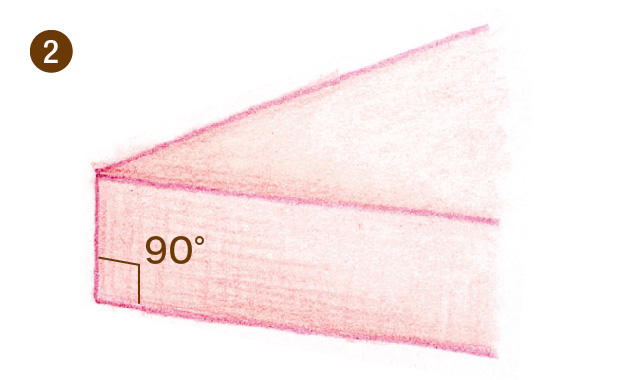
To create clean corners, cut one side at a time. Where there are valleys, cut precisely all the way to the top.
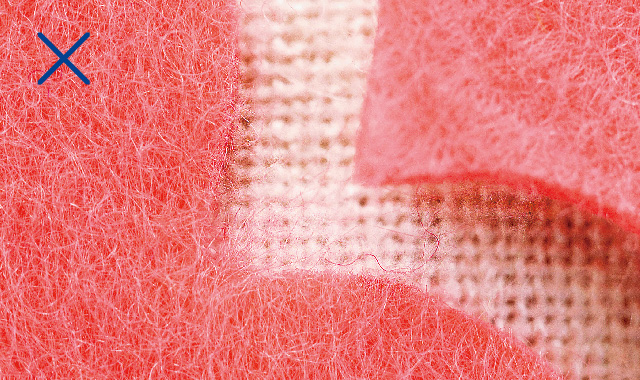
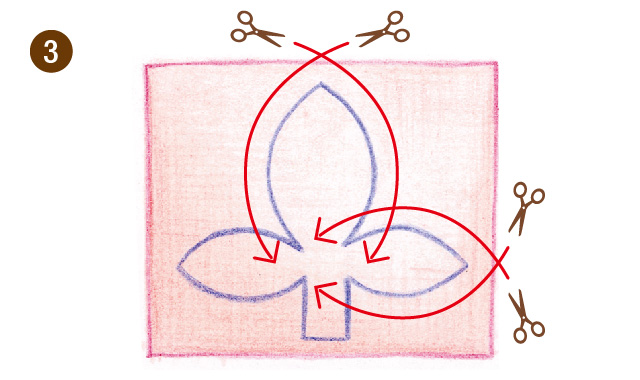
If you pull too hard, the felt fibers will come out.
Taking advantage of the unique properties of felt
Felt is an easily accessible and user-friendly material. Plus, even small scraps can be used to create cute sweets motifs like the ones shown here. Please try using it as a crafting material!
The Couturier blog features a variety of crafting tips and lots of helpful information. Don't miss the Couturier shop, where you can buy crafting kits, and our official social media accounts!
▽Click here for a list of embroidery articles
▽Click here for a list of embroidery kits.
▽Click here for the Couturier Shop
The products featured in this article are listed here.
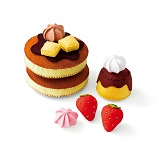
A felt toy club where parents and children can enjoy various pretend play activities together.
This long-selling kit allows children to create their favorite pretend play toys using felt, which comes in colorful hues and has a wonderfully soft texture.

[¥100 per month] Join the "Couturier Club"!
Becoming a member of the "Couturier Club" comes with various benefits, including delivery of the member magazine "Couturier's Seeds," which is full of handmade craft information, notification of special campaigns, and invitations to handmade craft events.
SHARE


Related article
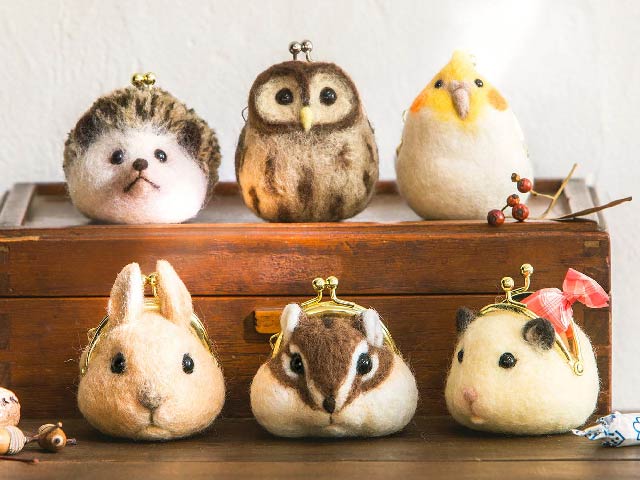
[Video Tutorial] How to Make a Felted Wool Item! Cute Animals for Coin Purses♪
Felt craft
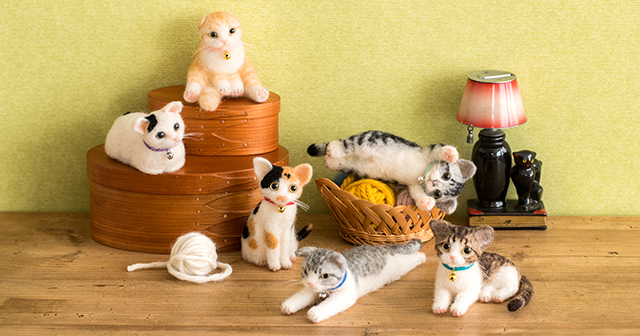
Collaboration with Felissimo Cat Club ♪ Popular "Needle Felted Kitty"
Felt craft
Handmade, a time for playtime just for myself / Beloved handmade items
編み物
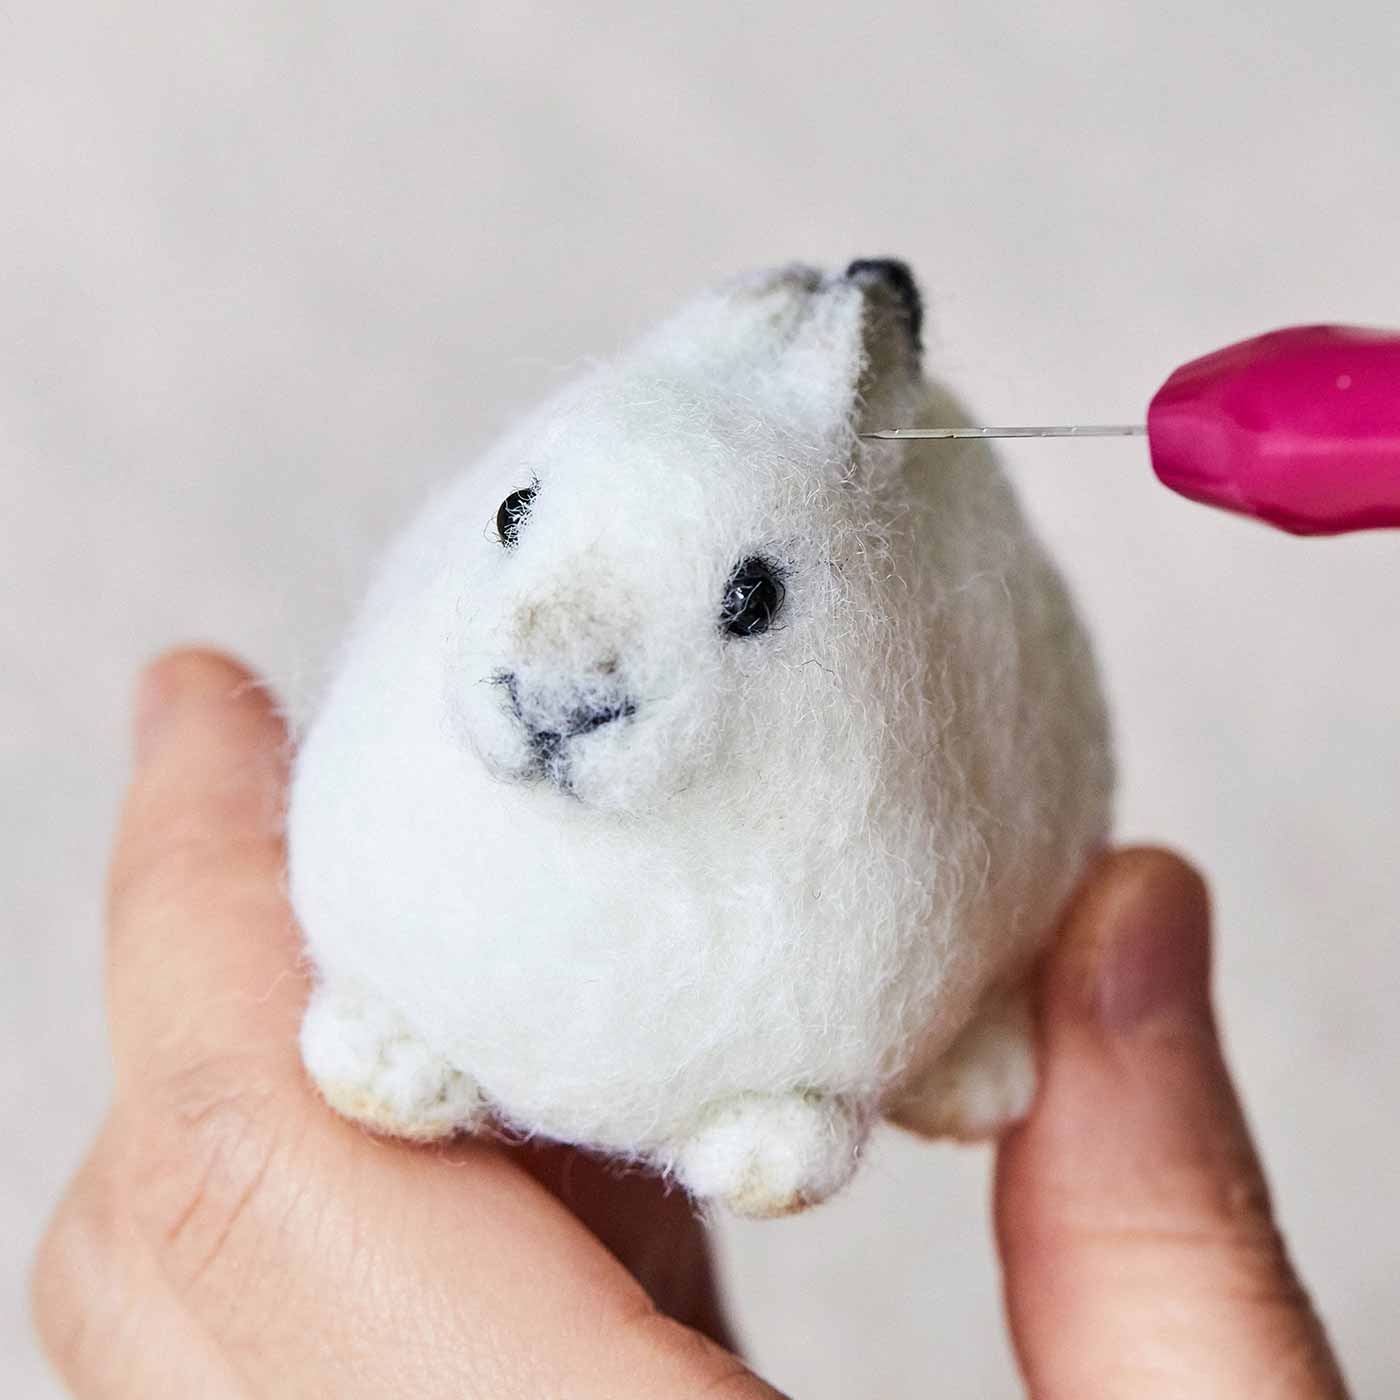
Mindlessly and quickly, I finished it! The story of how I made a one-of-a-kind needle-felted rabbit.
Felt craft
How to Make Felt Sweets Motifs ~Including Tips for Marking and Cutting Felt~
Felt craft
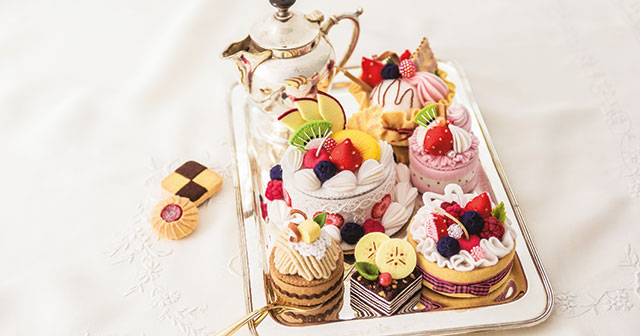
How to make magical felt sweets
Felt craft
Articles I recently read

If you feel like doing some handicrafts (handmade crafts),
To the Couturier Shop

Shopping
Once you get hooked, you'll be completely engrossed!
These kits are long-selling and popular items at Couturier. From knitting and joining pieces to creating and wearing them, and enjoying various arrangements, there's a wide selection of kits that will have you completely hooked.
Shopping
For those new to handmade crafts, click here.
We want many people to experience the joy of making things by hand. That's why we have a wide selection of beginner-friendly lesson kits in our "Basics for Beginners" series.
Shopping
お す す め コ ン テ ン ツ
Shop for craft and DIY kits and handmade goods here.
Shopping
編み物
I want to knit every day, I want to knit all year round.
Shopping
The sun
You're sure to find an embroidery design you want to try!
Shopping
Sashiko
Sashiko embroidery, popular for its traditional patterns and characters.
Shopping
Sewing
A collection of tips and solutions for sewing and sewing problems.
Shopping
Accessories
Handmade accessories
Shopping
Craft
Crafts, handcrafts that don't require needles and thread
Shopping
ミ ニ チ ュ ア
Small, cute, heart-fluttering miniatures
Shopping
Beginner kit
Learn to do it! Popular beginner kit

Shopping
Couturier Shop Site
Shopping
Sales campaign
Shopping
Beginner Knitting Lesson Kit
Shopping